Monday, April 19, 2010

I made out like a bandit again!

Did I ever tell you guys how I love Tuesday Morning? There are two near me. One is on a busy road, and that one gets picked clean pretty quick. The other one is in a tiny strip center right in the middle of a residential neighborhood and gets very little traffic. I almost always do well when I shop at that one. Here's what I got:

Martha Stewart punches $2.99 a piece!!! The border punch was $3.99

Fiskars border punch $5.99 (sorry the photo is so dark- If I use a direct flash it bounces off the plastic)

Autumn Leaves stamp set "Gypsy Style" $3.99 They had about 7 or 8 different styles, but I was very strict with myself. I didn't think I could use the other ones, but it was still hard to pass up for that price!

Tim Holtz Grungeboard. These came as a two pack for $7.99 . UNBELIEVABLE! I was so happy I bought quite a few. If you don't know what it is, it's basically flexible chipboard. The sheets make awesome mini book bindings.
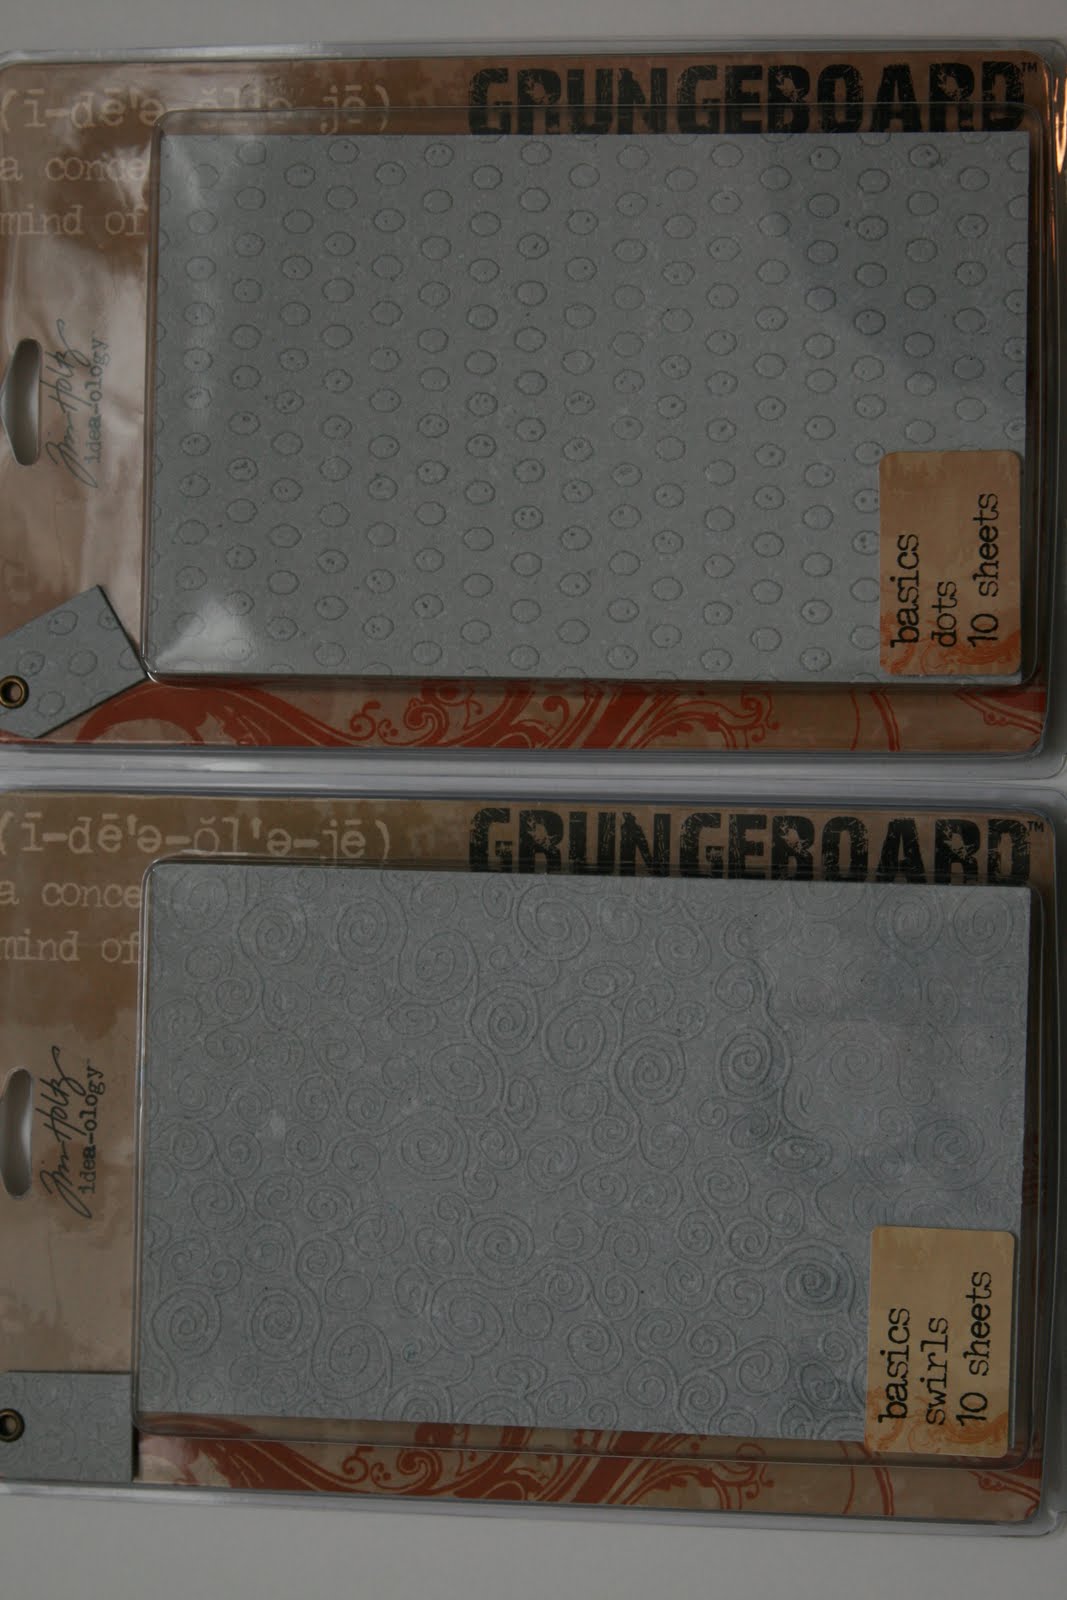

Just the alpha pack retails for$20 at Michaels!

Monday, April 12, 2010

Le' Romantique mini video

I just finished uploading the video to YouTube, here it is!

Sunday, April 11, 2010

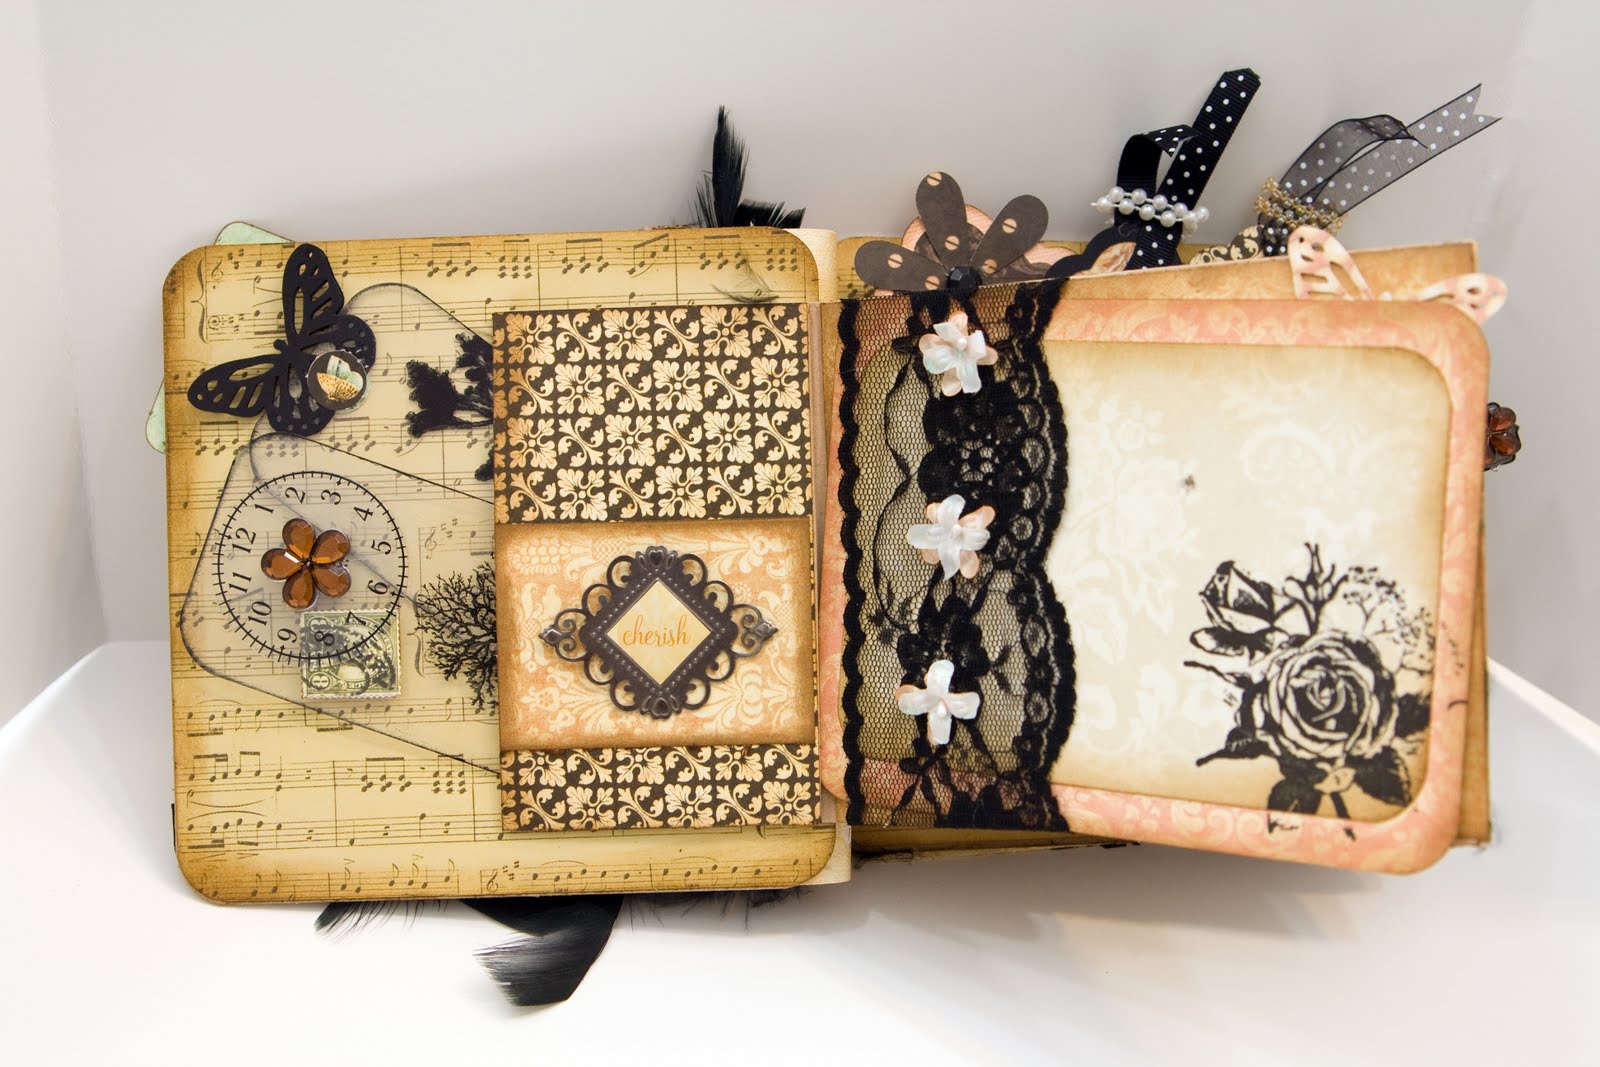
Graphic 45 "Le' Romantique"

Hi my scrappy friends! Anyone else being slammed with seasonal allergies right now? I'm in Charlotte North Carolina, and it's terrible here! I went to Target this morning to get my meds. I picked up Benadryl extra strength, plus, plus, plus. I knew it was going to make me really tired, and I had a lot to do today, so I figured I'd stop at Starbucks on my way out. $4 later, I had my non-fat cafe mocha, no whip. So I spent my morning spaced out from the Benadryl, and jacked up on caffeine, lol! Sometimes you just can't win!I wanted to show you the mini that I worked on all weekend. I love Graphic 45! I decided that from now on I will show pictures of everything I make, instead of just showing the video. I will still post a link here to the YouTube videos in case you want to see them. I'm going to do a video for this one tomorrow. I don't have 12 hours
today to download it to YouTube.
Ok, don't laugh. I know I over did it with the feathers. I'm going to trim those babies back!

I made some acrylic tags.


I love the little envelope and letter on this page, it's my favorite part of the mini!

I used another piece of acrylic to create this page. It's hard to see, but the butterfly pops up from the page.


If you got all the way down here, I'm impressed. That was a lot to look at!

Tuesday, April 6, 2010

Trade Wind Scrapper's March Swap

I feel like I haven't posted in a long time! Our Family was in south Florida this past week for spring break. I'm back now and ready to blog! I want to share with you this beautiful mini that I received from Daphna, my TWS swap partner. She did an awesome job, I really love it!

Sunday, March 21, 2010

How to create your own blog button

I will take you through the steps I took to create my button. Let me know if you have any questions!

1. Design your button. You need to have some kind of image editing software. I used Photoshop Elements to create mine. I opened a new canvas and sized it to 150x150 pixels. You could also do 125x125 pixels. You just want to size it to fit the average sidebar. I chose a resolution of 300, but a lot of folks use 72. I wanted mine to look like my blog, so I used a section of my header as my picture. (Since I didn't create my header myself, I emailed Karen over at thegraphicsfairy.com to get her permission to create a button out of her work.) You could also design a button using free clip art you can find on the internet, or you could even design something out of your scrapbooking papers and supplies and just take a picture of it. Then I chose a font and typed my blog name onto my image, put a black border around it, and I was done. Make sure you save your work as a jpeg.

2. Upload your button to an image hosting site. I used Photobucket.com, which is free.

3. Open your blog to where you add page elements. Click on "Add a Gadget" and select HTML/JavaScript.

4. Copy this code into the text area:

<img src="http://YOURBUTTONLOCATION.jpg" /> <br /> <textarea style="text-align:center" rows="4" cols="22"><a border="0" href="http://YOURBLOGADDRESS.com" target="_blank"><img src=http://YOURBUTTONLOCATION.jpg></a></textarea>

Replace YOURBUTTONLOCATION with the location of your image. If you used Photobucket, they provide you with a direct link to your photo's location. Replace YOURBLOGADDRESS with your blog address:)

Let me know if you have any trouble, I will help any way I can.

Saturday, March 20, 2010

I created a blog button

I am not tech savy AT ALL, but I think I managed to create a button for my blog. It looks right, but I have no idea if it will actually work or not. Something has to go wrong...it won't link or something... So if any one has any interest, try it out. Then, if it does actually work, and anyone wants to know how I did it so you can get your own, let me know and I will walk (stumble) you through it.

Friday, March 19, 2010

New Blog Look

I found this blog background and header on www.backgroundfairy.com It was under the Halloween category, but I really love it! I think it can be used as an every day background. Let me know if I'm wrong :)